QCarta QGIS Plugin
Installation
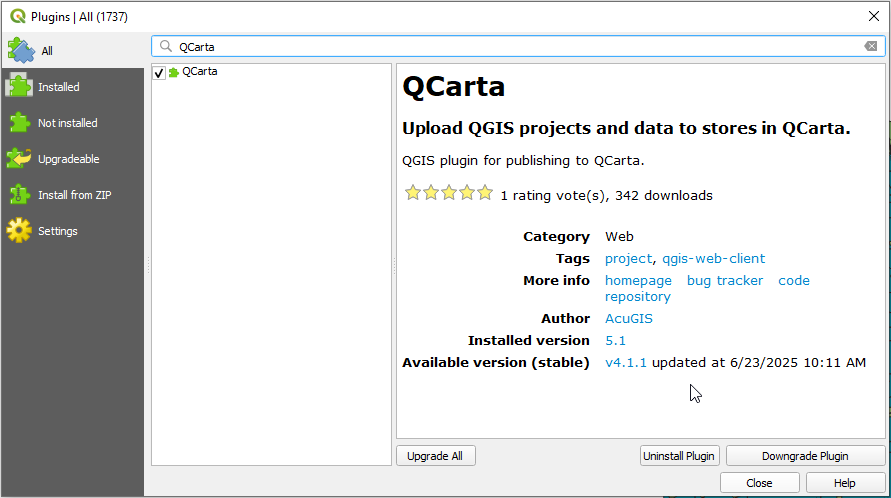
The plugin is available via the QGIS Plugin Repository
This is the recommended way to install it.
Note
The plugin is NOT a requirement for publishing to QCarta, you can publish directly via QCarta admin interface as well.
Usage
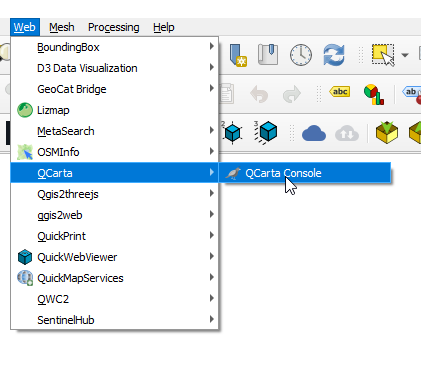
Once installed, go to Web > QCarta > QCarta Console:
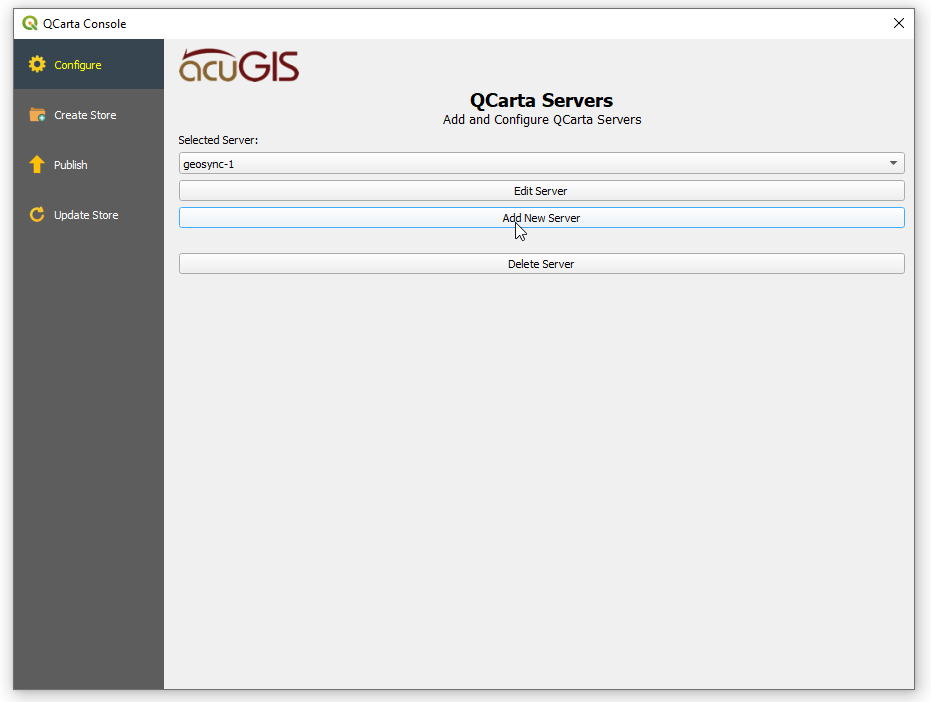
Click Add New Server
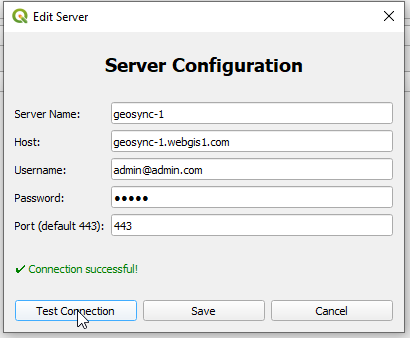
Enter your QCarta server details and click Test Connection
When Connection test passes, click Save
Go to the Store tab.
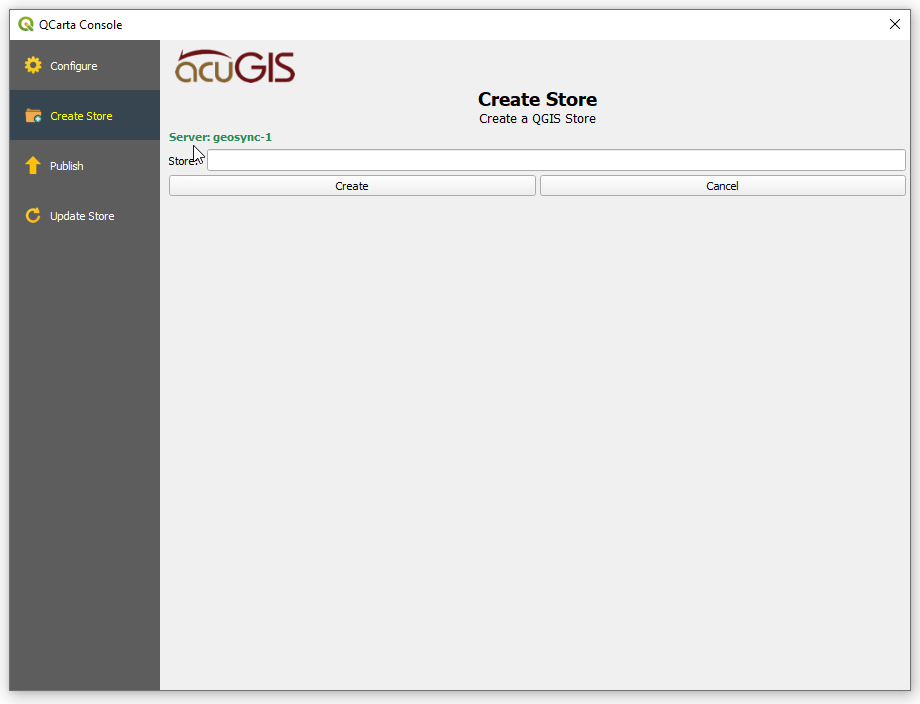
Give your Store a name and click Create
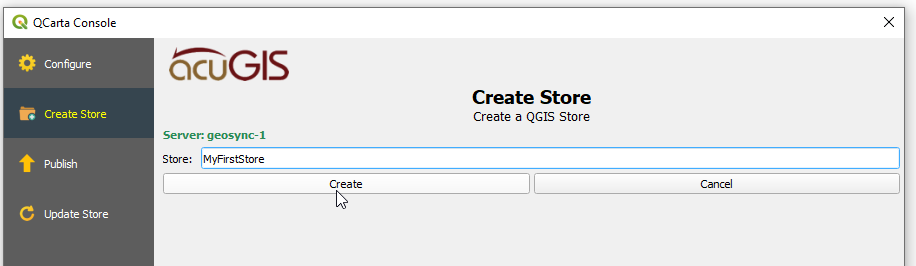
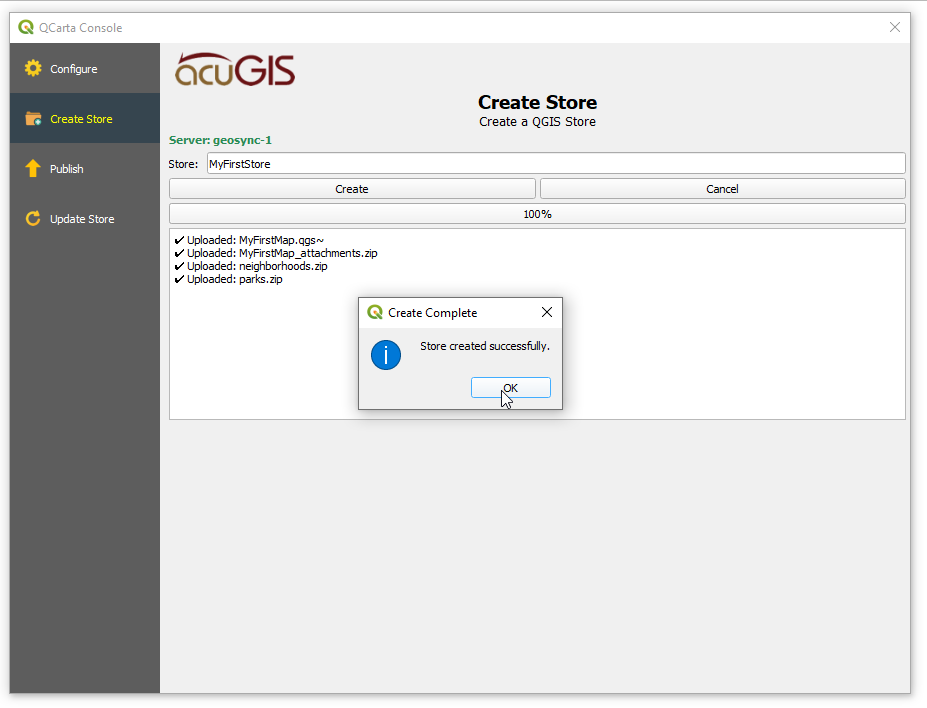
This will upload the QGIS project directory and create the Store
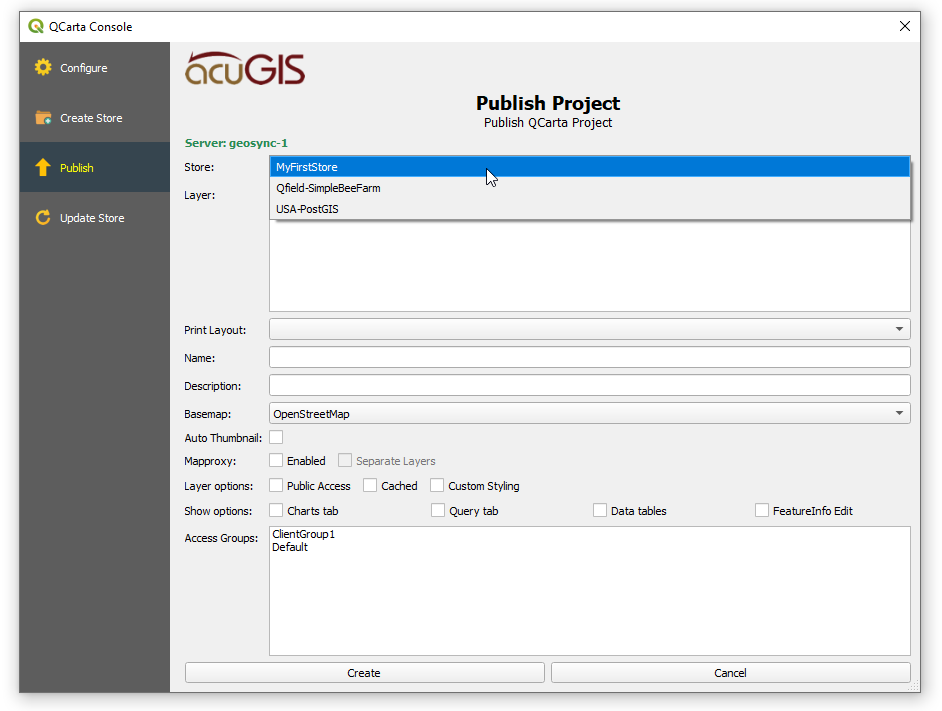
Click the Publish tab
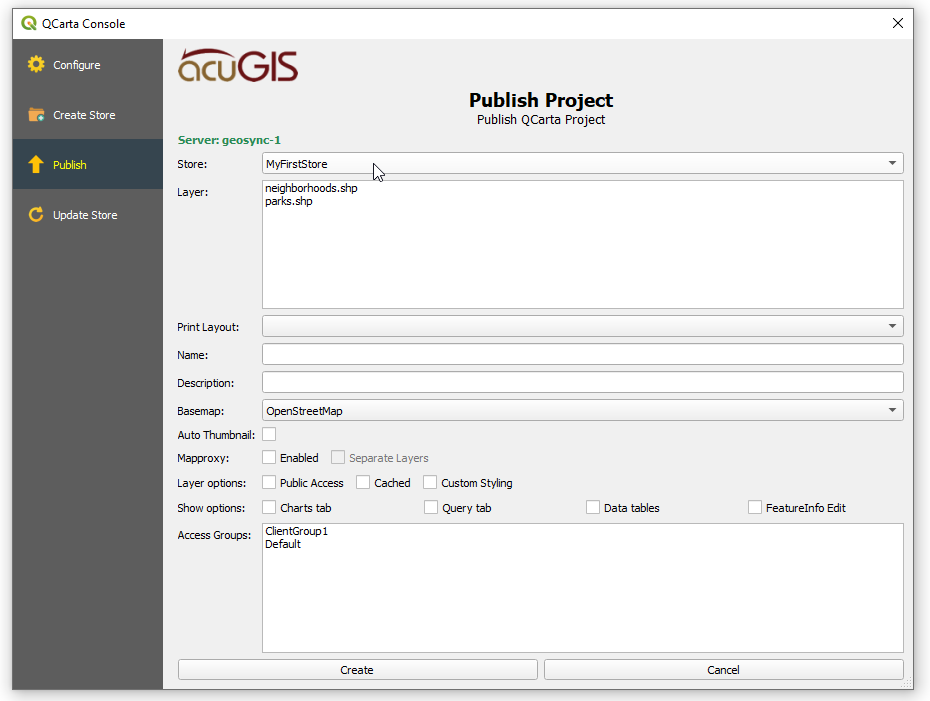
Select the Store you wish to Publish from the dropdown
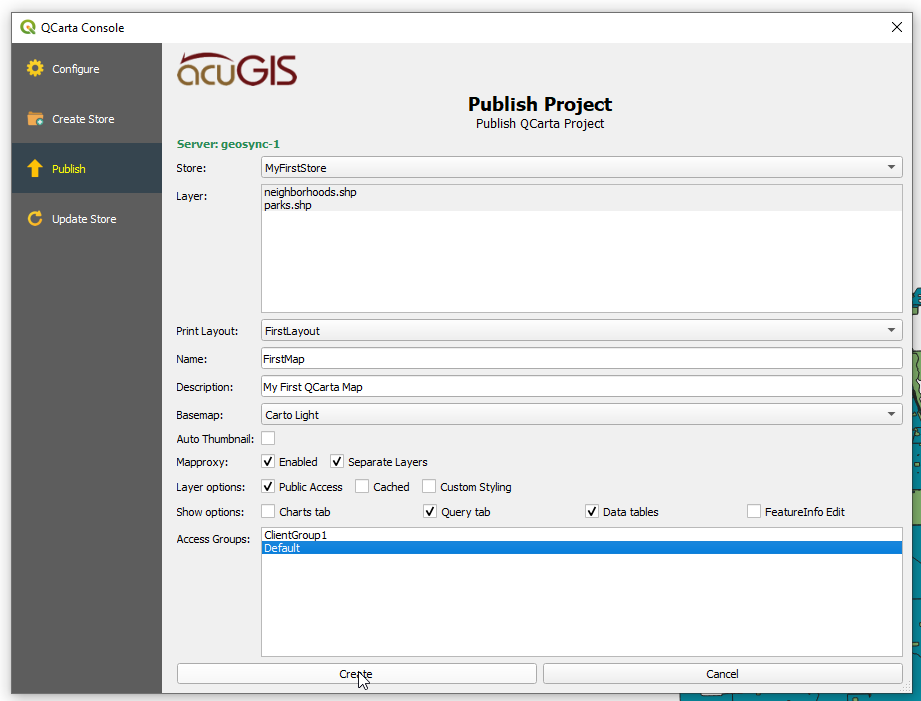
Select your map options and will in the required fields.
Click Create
You’ll see a message that your Store has now been Published
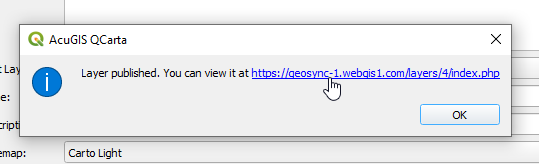
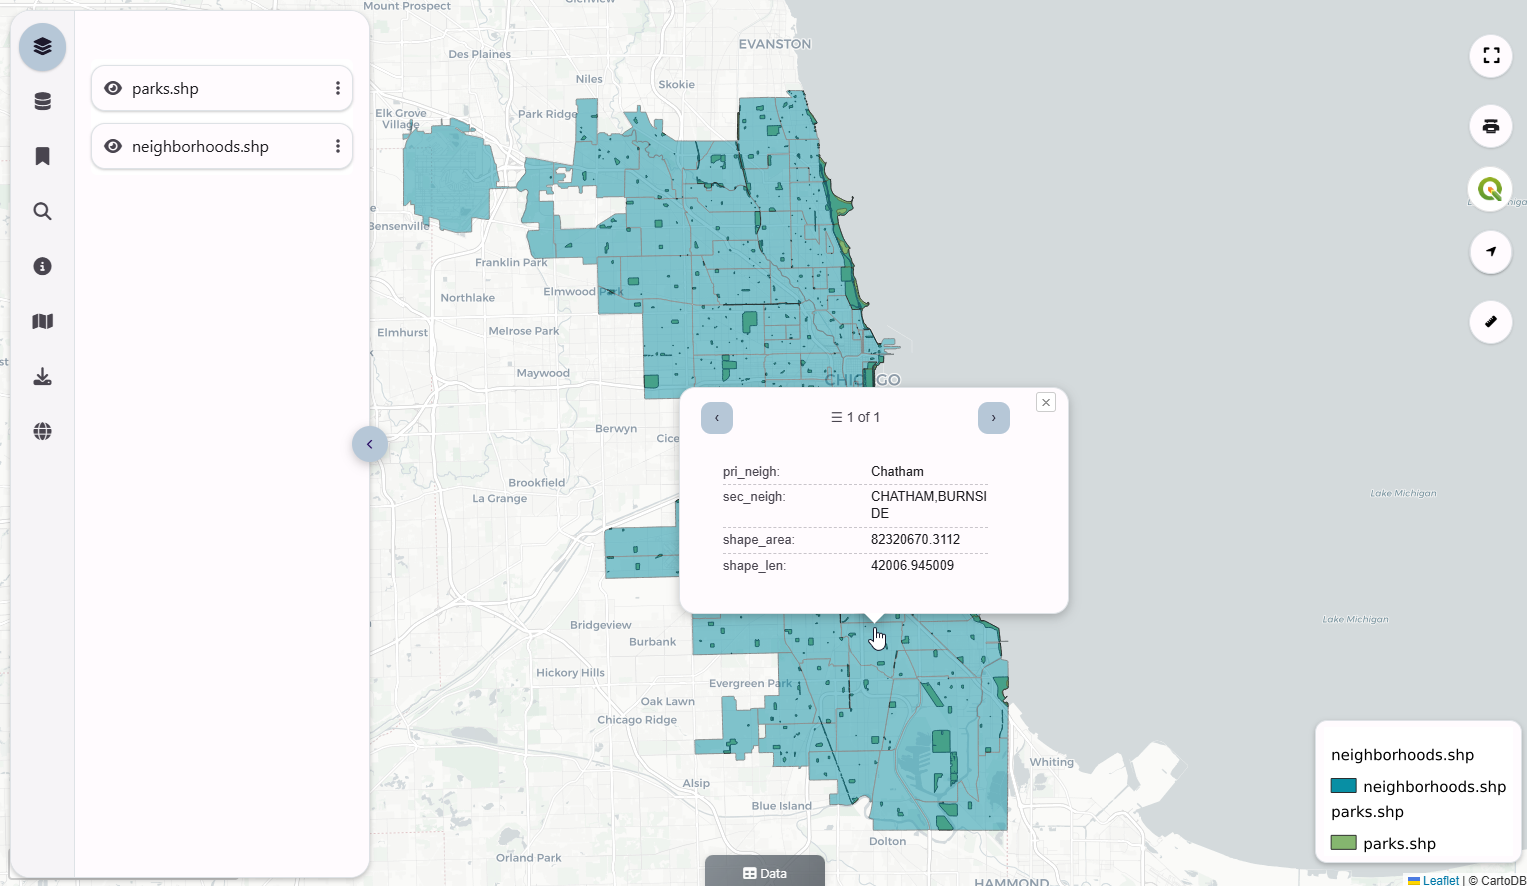
View the map
Note
Just as you can do all above without using the Plugin, you can also edit Maps you have published directly in QCarta as well.
Update Store
You can update an existing Store using the Update Store tab.